
Yesterday, the Apple Corp released the iOS 10.2, understand the relevant content, I cannot wait to upgrade. When I was excited to upgrade the system for my iPhone 6, I found that some of the contents of the phone are lost. Now I am needed to recover lost iPhone data after iOS 10.2 update, how can I do?
You can use an excellent recovery tool which is named iOS Data Recovery. It is normal for us to lose data because of various reasons, especially the process of system upgrade. And it's exactly in view of this kind of problem. You can use it to recover the lost data, the data can be restored including text messages, photos, music, videos, etc.. And it can be applied to the latest equipment, including iPhone 7 and iPhone 7 Plus. Of course, the latest system is also compatible. The software also has a high security. The operation of the software is easy to understand, we will provide you with the corresponding tutorial to teach you to operate.


Directly Recover Lost Data from iPhone after iOS 10.2 Update
Step 1. Firstly, you need to install and run iOS Data Recovery on your computer. Then connect your iPhone to your computer with the USB line. By default, the program will automatically scan your phone.
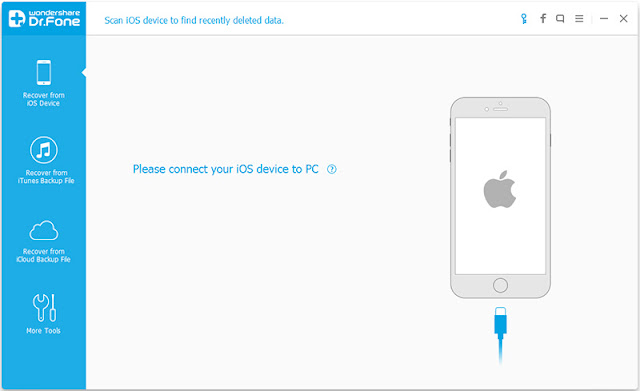
Note: You will need to install the latest version of iTunes on your computer. To avoid the automatically sync, don't run iTunes when running iOS Data Recovery. I suggest you disable the automatical syncing in iTunes beforehand: launch iTunes > Preferences > Devices, check “Prevent iPods, iPhones, and iPads from syncing automatically”.
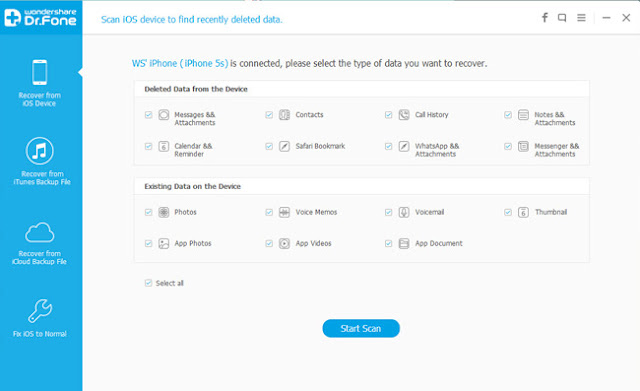
Step 2. Next, you need to select the file types before browsing the phone, such as a photo, video, whatever you wanted, if done, click on "Start Scan" to go on.
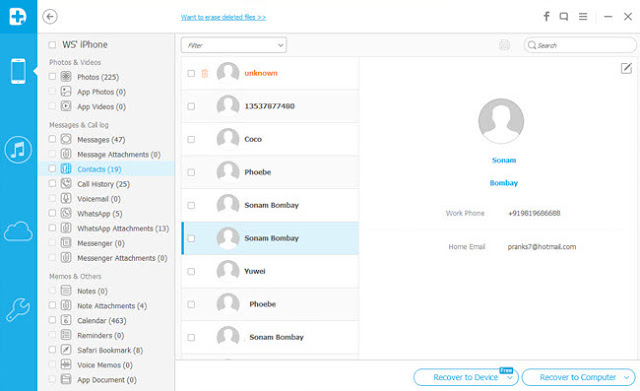
Step 3. When the scan is over, you can preview all the found data and files. As you can see, you can choose to browse the existing data, you also can only preview deleted data. You can swipe the option "Only display the deleted items" to "ON".

Step 4. When you find the data you need to recover, check them out. Then click "Recover". There are two buttons in the lower right corner, they are respectively "Recover to Computer" and "Recover to Device". If you want to put these messages back to your iPhone, click "Recover to Device".
Related Tutorials:
Restore iPhone Data from iTunes BackupRestore iPhone Data from iCloud Backup
Fix iPhone stuck on recovery mode
Get iPhone out of apple screen
Fix iOS System to Normal for iPhone